
Why Do You Need a Light Metre for Photography?
Getting the right exposure is the basic priority in creating a good photograph. Nowadays, there are so many cameras that make this basic choice. So you just have to decide whether your camera needs adjustments or not to get the desired result. Every camera has an essential item known as a light metre to set the exposures.
It is a creative choice that you must control smartly to get aesthetic quality. Let's explore more about it!
What is a Light Metre?

A light metre is a device that measures the intensity of light falling on the subject or reflected by a subject. In addition, it indicates the most beneficial shutter speed and aperture for the given subject. These light metres are usually handheld or built into cameras.
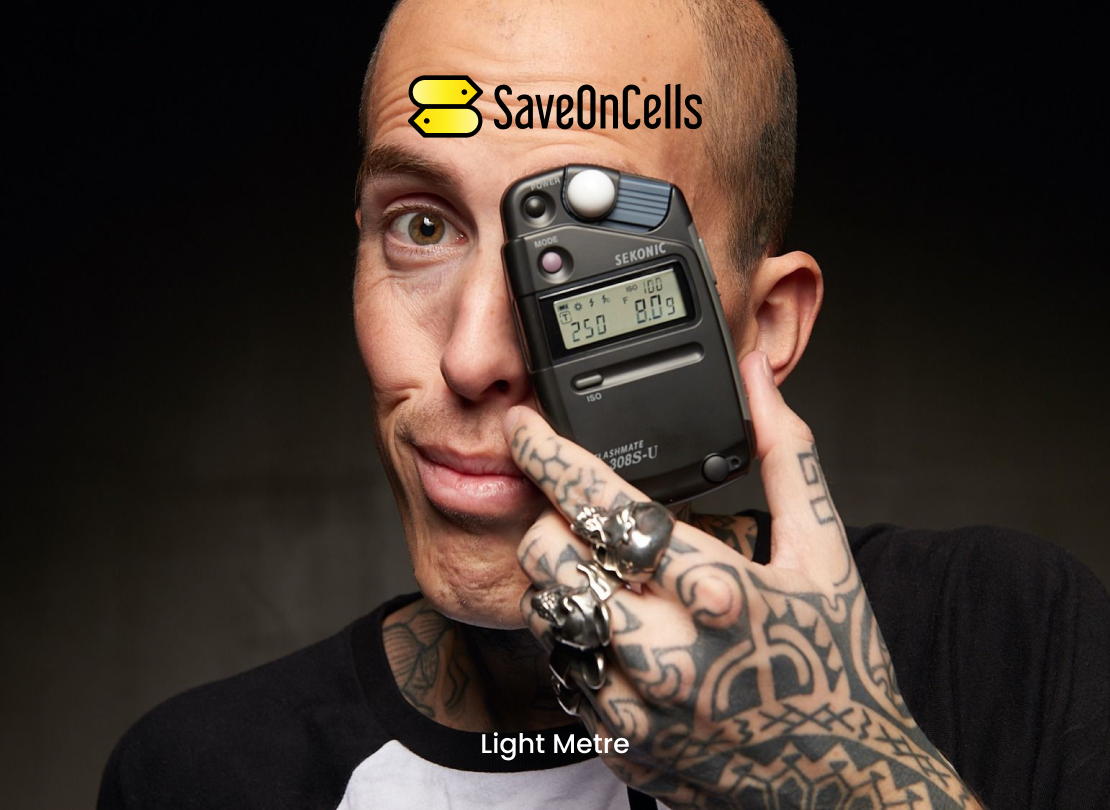
Why Use Light Metre for Photography?
Usually, light Metres are helpful where subject lighting conditions are difficult or fark. Also, some light metres can measure flashlights. Film cameras have a built-in exposure metre, so they measure an average of the photographed scene. Generally, this method gives good results. But shooting in complicated lighting can lead to automatic adjustments resulting in over or under-compensation of exposure. A light metre can help you overcome this situation in two ways:
Reflective Readings
Reflective readings give accurate results that closely resemble the camera’s metre. They measure light reflected from the subject. It means if the metering sensor points at dark or snow areas, similar exposure issues will occur for a camera with a built-in metre.
Incident Readings
You can take an incident light reading to overcome over and under-adjustment compensation. It is because the metre measures the light falling on the subject, not the subject's reflective qualities.
How Do You Metre Photography?

Nowadays, most cameras use the TTL(through the lens) metring process. First, the camera examines the light coming through the lens and evaluates the scene’s brightness. Then, the metre indicates the optimal exposure settings. Generally, the light metre aims to make the average middle grey scene.
So, if you are photographing a tree, the camera’s metre will measure the light reflecting off the tree. Then, it will determine the shutter speed, aperture and ISO combination, making the scene 18% grey. Also, it automatically selects the settings depending on the camera mode.
If you use the Auto mode, the camera will do measuring and choose settings for optimal exposure. Next, if you use Aperture Priority mode, you can select the ISO; then the camera will choose the shutter speed producing an 18% grey result. Last, if you use a Manual mode, the camera will indicate ideal settings by using the exposure bar at the bottom of the viewfinder.
How Do You Use a Light Metre for Flash Photography?

If you do not have the remote triggering capability, use an off-camera remote flash cord. It would be best not to use on camera hot shoe flash as it produces flat, harsh lighting. But if you want to simplify this exercise, you can use a hot shoe flash mounted on the camera. It will be slightly off centre if your camera is in portrait mode.
Set your handheld light metre to the "incident" mode and exposure on the "flash non-cord" setting to read the flash exposure. It determines the light falling on the subject when you fire a flash. If you use a remote trigger, the next step is quite easy. If not, get someone's assistance for the next reading. Finally, position the light metre so the dome points to the camera and flash fires.
How Do You Use a DSLR Light Metre?
When you work in manual mode, your camera still helps you to select the best settings. You can see DSLR’s metre in action by viewing inside the viewfinder. You will notice dashed lines or bars toggling from left to right with a zero marker, indicating the centre. You can also see the light metre on digital information behind the camera.
The easiest way is to practice aiming the camera at various light sources to check the light metre shift. When you aim the camera at a brightly lit area, you will notice lines shift to the positive side, indicating the current settings. Unfortunately, it allows excessive light to enter, resulting in an overexposed photo.

If you point your camera towards a lower light scene, it will cause the indicator to shift towards the negative end. So, it prompts you to set the aperture to let more light in. It would be best to keep an eye on the metre when you adjust the settings. It will give you first-hand insight into each setting affecting the exposure individually.
Final Words
Most photographers neglect using a dedicated light metre. Yet they can produce incredibly useful pieces, especially when shooting subjects that stray from tonal averages. For some situations, the built-in camera metre is perfectly adequate.
Moreover, if you know how to compensate for the dark and light tones, you can adjust the camera’s metre reading. It helps to capture perfect exposures. But if you mostly photograph difficult scenes, use a dedicated light metre. It can ensure gorgeous exposures every time you take a shot.


